
Just in time for Halloween, Bianca Henandez-Knight shared her AMAZING and creative silhouetted carved pumpkin. She also included detailed directions if you want to make your own. The end result is super cool, and perfect for a nerdy display from a galaxy far, far away.
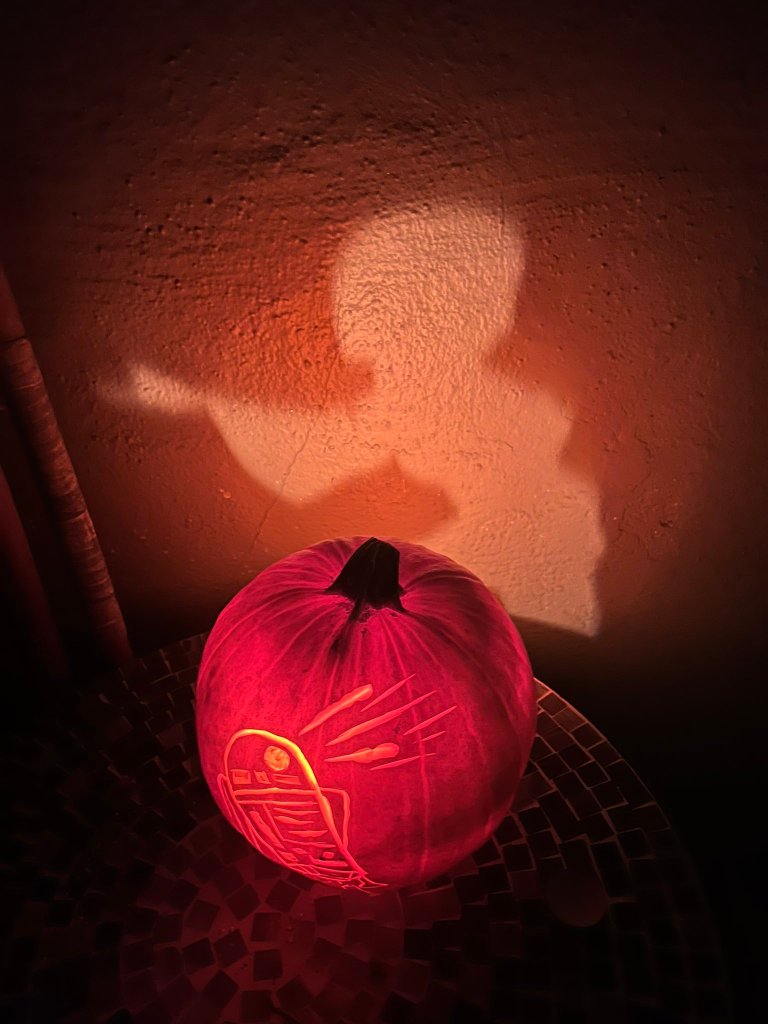
After picking up the pieces of your absolutely blown mind, the process is fairly intuitive, as the writer of the popular Bookhoarding blog explains. After gathering your (ideally “Star Wars” themed) supplies, mark out the design you want displayed on the front of the pumpkin. Make sure you don’t carve too deep into the pumpkin, otherwise you might give away the magic behind the design. Just score the surface enough so that light will shine through and people can tell what the design is. Hernandez-Knight chooses R2-D2 because, of course, it’s a projection.
Then you move to the back of the pumpkin. This is where you will be carving all the way into the pumpkin so that the light shines completely through. Remember to carve the mirror image of what you want projected, so if you want Princess Leia facing to the left on the wall, you need to carve her facing to the right on your pumpkin. Then, when you put a light inside, it will project the carved out portion onto the wall behind your pumpkin.
Super simple, super neat. You might also notice that Hernandez-Knight cuts the bottom of her pumpkin instead of the top. This is because pumpkins tend to last longer if the stem is still attached. Obviously, you can let your imagination run wild with these designs, projecting something like the Bat Signal, or someone’s double identity, or even just some classic jack-o’-lantern designs to get two carved pumpkins for the price of one. Whatever you do, we’re sure it will be great.


